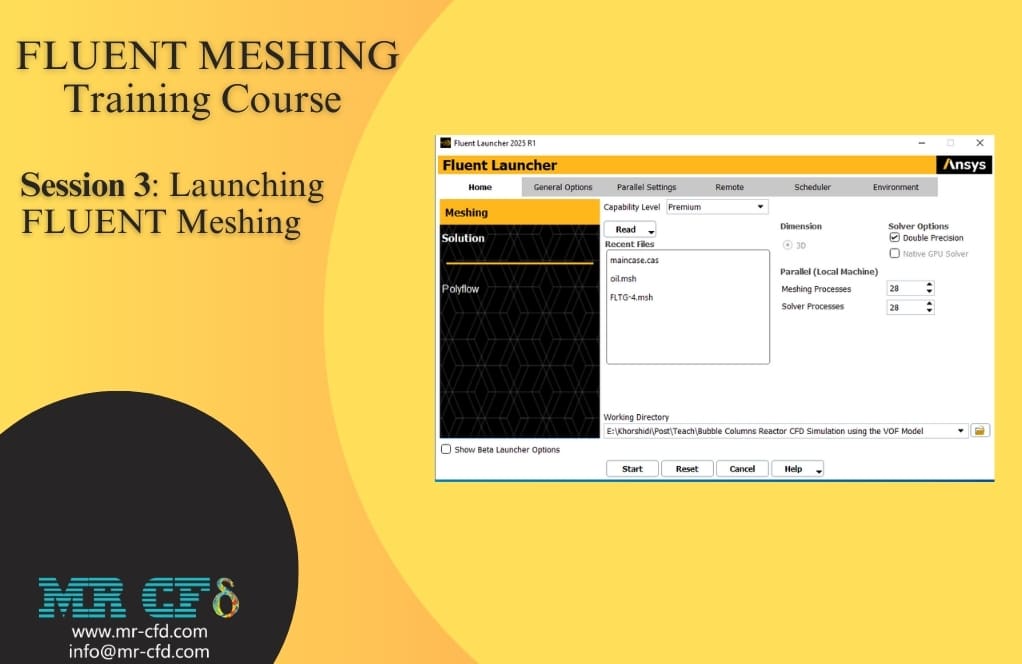
Fluent Meshing Training Course: Session 3, Launching FLUENT Meshing
Free
- Got acquainted with the Launcher settings
- Learned three ways to launch FLUENT Meshing
To Order Your Project or benefit from a CFD consultation, contact our experts via email (info@mr-cfd.com), online support tab, or WhatsApp at +44 7443 197273.
There are some Free Products to check our service quality.
If you want the training video in another language instead of English, ask it via info@mr-cfd.com after you buy the product.
Description
In this session, we learned how to run Fluent Meshing. There are actually a few different ways to launch it, and we reviewed them all.
First of all, we got acquainted with the Launcher settings. In the Home tab, you can make the main settings. For example, the 3D or 2D option can be selected. Which means whether we are going to work with a 3D model or a 2D one. There is also another section for parallel processing, where the number of cores is set – both for meshing and for the solver. This number of cores greatly affects the speed of work, especially when we have complex models.
Another important option was “Double Precision”, which was checked. This option allows calculations to be performed with greater precision because it uses a 64-bit representation of decimal numbers. It is true that it requires more memory, but for complex models it is very important that it is enabled.
Then we learned three ways to launch Fluent Meshing:
First method:
Just search for “FLUENT” in the Windows menu, click on the method, select “Meshing”, configure the launcher settings and click “Start”.
Second method:
We use Workbench. After creating the geometry, we drag the “Mesh” component from the toolbox and drop it on the main screen. Then we connect the geometry component to the mesh component with a line. By double-clicking on the mesh component, the Fluent Meshing launcher opens and after the settings, we click “Start”.
Third method:
There is also a faster way. We right-click on the geometry component and select the “Transfer Data to New…” option. Then we click “Fluid Meshing”. This way it creates a mesh component and connects it to the geometry. We double-click the method, make the settings, and start.
You can use whichever of these methods is easiest for you, but the second and third methods are much more practical when you are working in the Workbench.


Reviews
There are no reviews yet.